


ME LOOKS
The right combination of foundation, blush, eyeshadow, and lipstick can highlight features, boost confidence, and complement any occasion.

How to apply
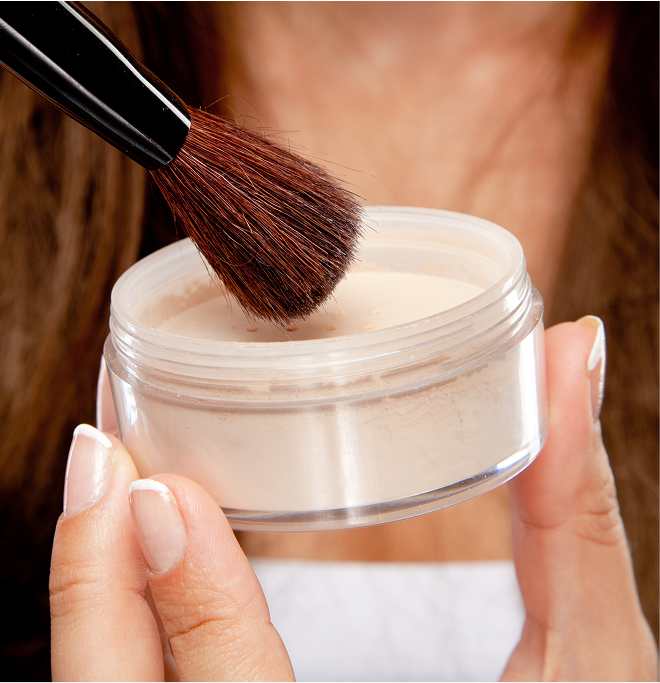
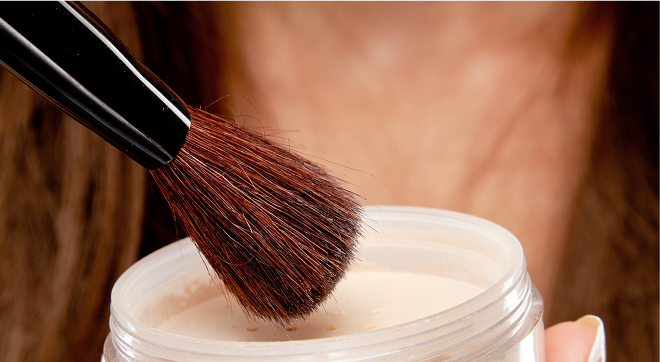
powder foundation
Powder foundation is a great option for a lightweight, natural finish and is especially good for oily or combination skin. Here’s a step-by-step guide to applying it for the best results:
1. Prep Your Skin
Before applying powder foundation, make sure your skin is clean and hydrated:
- Cleanse & Moisturize – Powder can cling to dry patches, so apply a lightweight moisturizer and let it absorb fully.
- Use a Primer – A mattifying or hydrating primer can help smooth the skin and improve the foundation’s longevity.
2. Choose the Right Tool
The application tool affects the coverage:
- For Light Coverage – Use a fluffy brush to lightly dust the foundation over your face.
- For Medium to Full Coverage – Use a dense kabuki brush or a sponge to press and buff the foundation into the skin.
3. Apply the Powder Foundation
- Swirl, Tap, and Buff – If using a brush, swirl it in the powder, tap off the excess, and apply in circular motions.
- Build Up Coverage – Start with a light layer and add more as needed, focusing on areas that need extra coverage.
4. Set and Finish
- If you have oily skin, you can use a setting spray or a light dusting of translucent powder to help control shine.
- If your skin is dry, a hydrating mist can help blend the powder seamlessly and prevent a cakey look.
Extra Tips
- Avoid using too much product at once, it’s easier to build up than remove excess.
- Blend well into the jawline and hairline for a seamless finish.
- Use concealer before powder foundation for a smoother application.
Setting Powder for a
Flawless Finish
Setting powder helps lock in makeup, control shine, and smooth the skin for a long-lasting, airbrushed look. Here’s how to apply it properly:
1. Choose the Right Setting Powder
- Translucent Powder – Best for all skin tones to control shine without adding coverage.
- Tinted/Pressed Powder – Good for extra coverage or to slightly adjust foundation tone.
- Loose Powder – Ideal for a lightweight, natural finish.
- Pressed Powder – Convenient for touch-ups throughout the day.
2. Prep Your Skin
- Apply foundation and concealer first.
- Let creamy products settle before applying powder to avoid cakiness.
3. Apply Setting Powder
For an All-Over Soft Matte Finish:
- Use a large, fluffy brush to lightly dust the powder over your face.
- Focus on the T-zone (forehead, nose, chin) where oiliness occurs most.
For Targeted Shine Control:
- Press the powder onto oily areas with a powder puff or sponge for extra control.
✨ For a Bright & Smooth Under-Eye Look (Baking Method): - Use a damp sponge to press a generous amount of powder under the eyes.
- Let it sit for 5–10 minutes to absorb excess oils.
- Lightly dust off the excess with a brush.
4. Set Everything in Place
- If you want a more natural, non-powdery finish, use a setting spray to melt the powder into the skin.
Extra Tips
- Apply in thin layers to avoid looking cakey.
- Use a light hand—too much powder can settle into fine lines.
- Pressed powders are great for touch-ups on the go.
What Bisque is good for
(Makeup Shade/Corrector)
- A bisque-toned concealer is often a peachy or pink-toned shade that helps neutralize dark circles, blue/purple under-eye tones, and discoloration.
- It’s ideal for brightening the under-eye area, especially for those with fair to medium skin tones.
- If labeled as a color corrector, bisque is perfect for prepping the skin before applying foundation or regular concealer.
Versatile Eye Shadow
Powder eyeshadow is super versatile and can be used for more than just your eyelids! Here’s how you can repurpose it for different makeup needs:
1. As a Highlighter
- Use shimmery champagne, gold, or pearl shades on the cheekbones, brow bone, nose bridge, and cupid’s bow for a glow.
- Apply with a fluffy brush or your fingertip for a soft blend.
2. As a Blush
- Soft pink, peach, or mauve eyeshadow can work as blush—just blend it onto your cheeks with a blush brush.
- Matte shades work best for a natural flush.
3. As a Contour/Bronzer
- Use matte brown or taupe shades to contour the cheekbones, nose, and jawline.
- Apply lightly with a blending brush and build up for depth.
4. As an Eyeliner
- Dip an angled brush in water or setting spray, then into a dark eyeshadow shade to create a smooth, smudged eyeliner effect.
- Works great for soft, smoky looks!
5. As an Eyebrow Filler
- Use a matte brown shade close to your brow color and fill in sparse areas with an angled brush.
- Blend well for a natural, fuller look.
6. As a Lip Color
- Mix pink, red, or berry eyeshadow with lip balm or gloss to create a custom lip shade.
- Matte shadows can also be patted onto lipstick for a velvety, soft-matte finish.
7. As Nail Polish
- Mix eyeshadow pigment with clear nail polish to create a custom nail color!

Wet Eyeshadow Transforms
Using powder eyeshadow with water can intensify the pigment, improve longevity, and create different effects like eyeliner or foiled shimmer. Here’s how to do it properly:
1. Create a More Intense Eyeshadow Look
- Lightly dampen your eyeshadow brush with water or setting spray (don’t soak it, just slightly dampen).
- Dip the damp brush into your eyeshadow and pat (not swipe) onto your eyelid for a richer color payoff.
- Works best with shimmery or metallic shades for a foiled effect.
2. Use as an Eyeliner
- Use a fine or angled brush, dampen it slightly, then pick up a dark eyeshadow shade.
- Apply along the lash line for a soft eyeliner look or wing it out for more definition.
- Layer for more intensity or smudge for a smoky effect.
3. Create a Creamy Shadow or Base
- Mix a bit of powder eyeshadow with a few drops of water on the back of your hand to create a paste-like consistency.
- Apply with your finger or brush for a smooth, creamy effect.
- This works well as a base for other shadows or to create a monochrome look.
4. Use as a Brow Pomade
- Dampen an angled brush, dip into a matte brown eyeshadow, and apply to your brows in hair-like strokes.
- This method gives a slightly more defined and long-lasting brow look.
Tips for Best Results:
- Use clean water or setting spray to avoid bacterial buildup.
- Don’t get the whole eyeshadow pan wet, as it can create hard spots that ruin the texture.
- Use a mixing palette or the back of your hand instead of dipping directly into the pan.
How to use pencil concealer
A pencil concealer is great for precision coverage, whether you’re hiding blemishes, brightening under-eyes, or defining features. Here’s how to use it effectively:
1. Prep Your Skin
Before applying concealer, make sure your skin is clean and moisturized to prevent dryness or creasing.
2. Choose the Right Shade
- For blemishes & redness – Match your skin tone exactly.
- For under-eye circles – Use a shade slightly lighter than your skin tone.
- For brightening/highlighting – Use a shade one or two tones lighter.
3. Apply the Concealer
- For Blemishes – Dab the pencil directly onto the spot and gently blend with a clean fingertip, brush, or sponge.
- For Under-Eyes – Lightly draw a few small strokes under your eyes, then use your ring finger or a damp sponge to blend in a dabbing motion.
- For Highlighting – Apply to areas like the brow bone, down the bridge of the nose, or the cupid’s bow for a lifted effect.
4. Blend Well
- Use a light tapping motion to blend without wiping away the product.
- A brush or damp beauty sponge helps create a seamless look.
5. Set It (Optional)
- If you have oily skin or need long wear, dust a light layer of translucent powder over the concealed areas.

Extra Tips
- Sharpen the pencil for precise application.
- Warm the tip on the back of your hand if it feels too stiff.
- Layer lightly to avoid a cakey finish.